

The Ultimate Guide to Textured Wall Art: DIY Techniques, Inspiration, and Must-Have Pieces for Every Space
Textured wall art has exploded in popularity as homeowners and designers seek ways to add depth, dimension, and personality to interiors. Unlike flat prints or standard canvas paintings, Textured Wall Art brings a tactile, sculptural quality that transforms blank walls into focal points. Whether you're drawn to minimalist neutrals or bold abstracts, this versatile art form elevates any room—from living rooms and bedrooms to offices and entryways.
If you've browsed store shelves and admired the price tags on professional pieces, you're not alone. The good news? Creating your own Textured Wall Art is accessible, affordable, and incredibly rewarding. In this comprehensive guide, we'll explore everything from beginner-friendly DIY projects inspired by joint compound and plaster techniques to ready-to-hang masterpieces. We'll cover materials, step-by-step instructions, design tips, placement ideas, and more—clocking in at around 1,800 words to give you all the tools you need to get started today.
Why Textured Wall Art Is a Game-Changer in Home Decor
Textured wall art isn't just visually striking—it engages multiple senses. The raised surfaces catch light differently throughout the day, creating shifting shadows and highlights that make a space feel dynamic and alive. It also adds acoustic benefits by softening echoes in larger rooms and brings a handmade, organic feel that contrasts beautifully with sleek modern furniture.
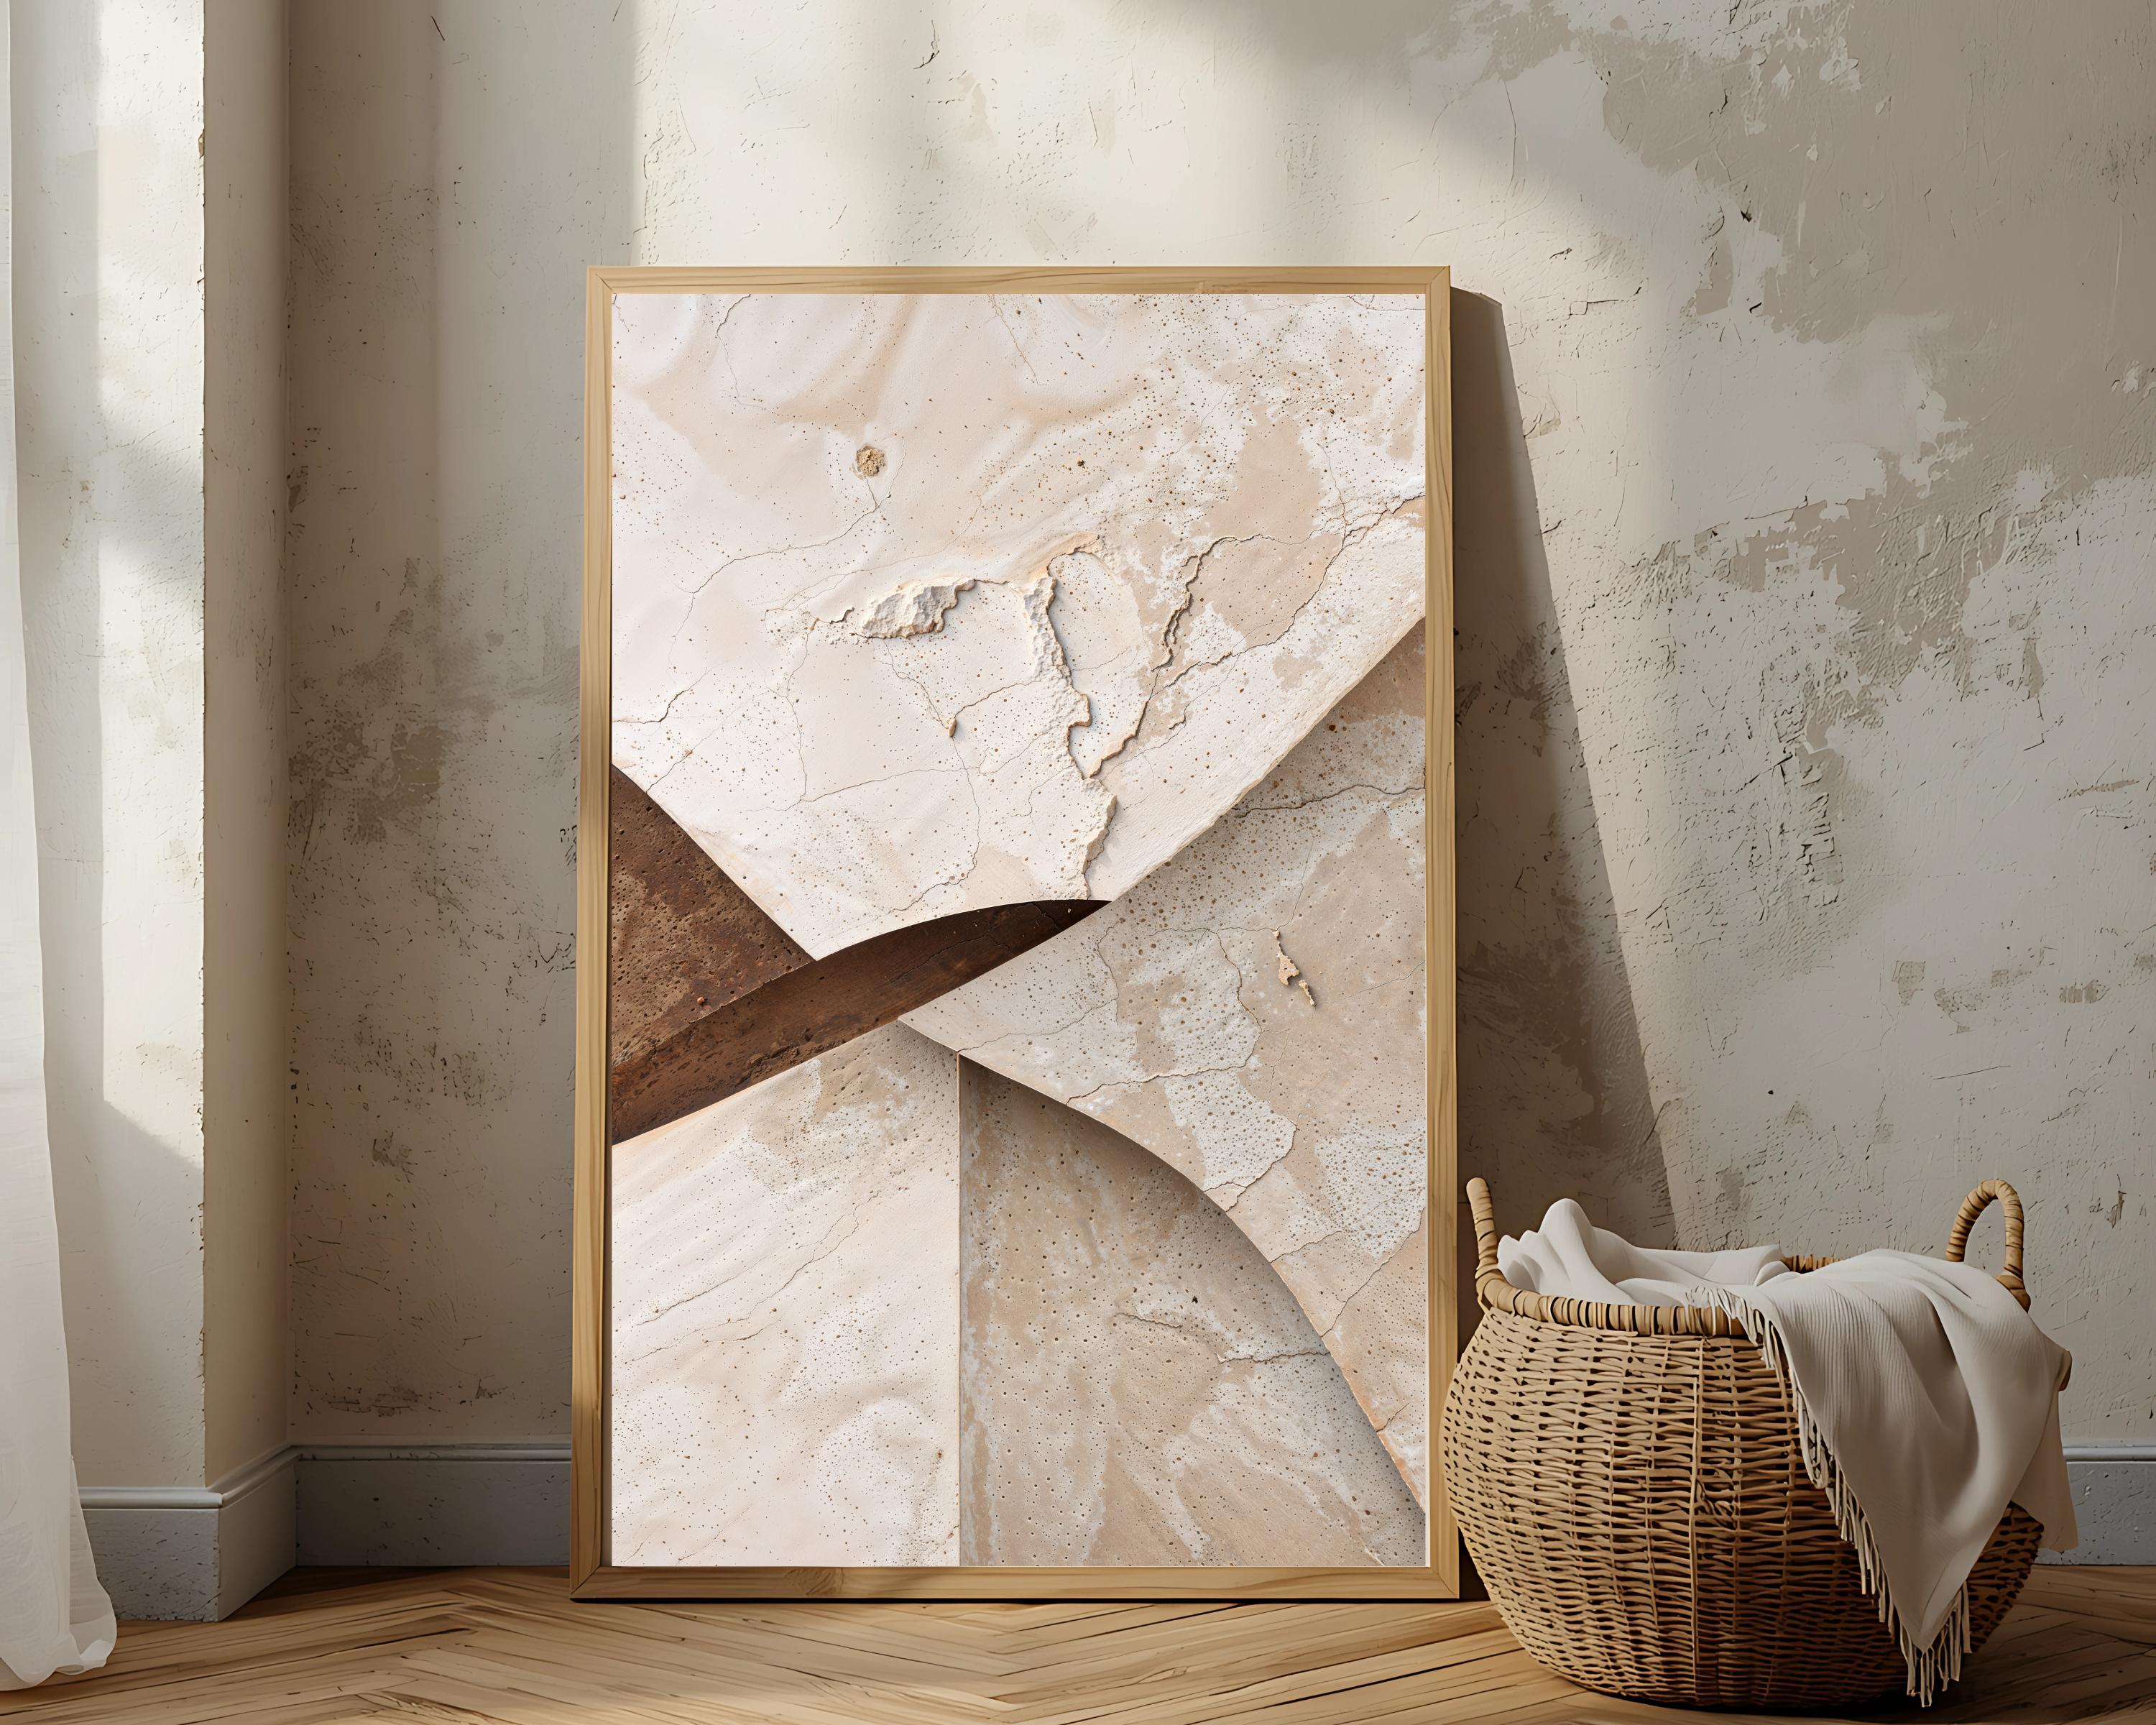
In 2025 trends, neutral and minimalist textured wall art dominates, with soft beiges, whites, and earth tones paired with metallic accents. But the beauty lies in its versatility: you can go full abstract, geometric, or even incorporate natural elements like fabric or rope for a boho vibe. Ready-made options, such as the stunning hand-painted 3D pieces available in the Textured Wall Art collection at CanvaShi, feature layered contours in teal, green, beige, and gold tones starting around $219—perfect for those who want instant impact without the DIY commitment.

Beyond aesthetics, DIY textured projects are budget-friendly (often under $50 per piece) and eco-conscious when you upcycle old canvases. They also allow full customization to match your color scheme or room size.
Essential Materials for DIY Textured Wall Art
Before diving into projects, gather these basics. Most are available at home improvement stores or online:
- Canvas: Stretched, pre-primed (or thrift an old painting to repurpose). Sizes from 16x20 inches for small accents to 36x48 for statement pieces.
- Base texture medium: Joint compound (lightweight, inexpensive, and easy to work with), plaster, spackle, or modeling paste for finer details.
- Tools: Putty knife, notched trowels (various sizes for lines and patterns), palette knives, old brushes, forks, or even household items like sponges for unique textures.
- Paints and sealants: Acrylic paints for base coats and color, clear matte sealant, or spray paint for protection and finish.
- Extras: Sandpaper for smoothing, painter's tape, drop cloths, and optional metallic leaf or gold accents for luxury touches.
Pro tip: Start small to test techniques. Joint compound is forgiving—if you mess up, just smooth it out and retry.
Step-by-Step: Beginner DIY Textured Canvas Art Project
This easy project uses joint compound for a modern, dimensional look—similar to popular tutorials but with our own creative twists for 2025 neutrals.
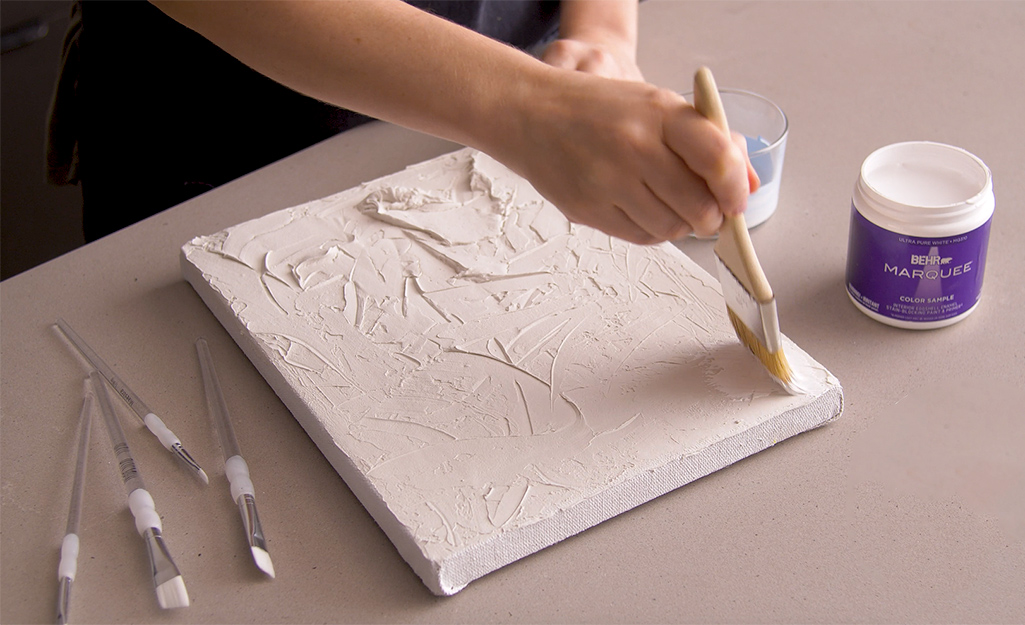
Step 1: Prep Your Canvas Prime your canvas with white acrylic paint if it's not pre-coated. This creates a barrier so the texture medium doesn't soak in unevenly. Let it dry fully (1-2 hours). For an upcycled thrift find, paint over any unwanted designs.
Step 2: Apply the Base Texture Scoop joint compound onto the canvas with a putty knife. Spread it in a 1/4-inch layer—thick enough for dimension but not so heavy it sags. Work quickly before it sets.
Step 3: Create Texture This is the fun part! Use notched trowels for linear ridges, a fork for organic swirls, or a palette knife for peaks and valleys. Experiment with patterns: wavy lines for movement, circular motifs for calm, or random strokes for abstract energy. If you dislike a section, flatten and start over—no stress! For geometric flair, tape off sections and create contrasting textures, as seen in modern tutorials like those for DIY textured canvas art ideas.

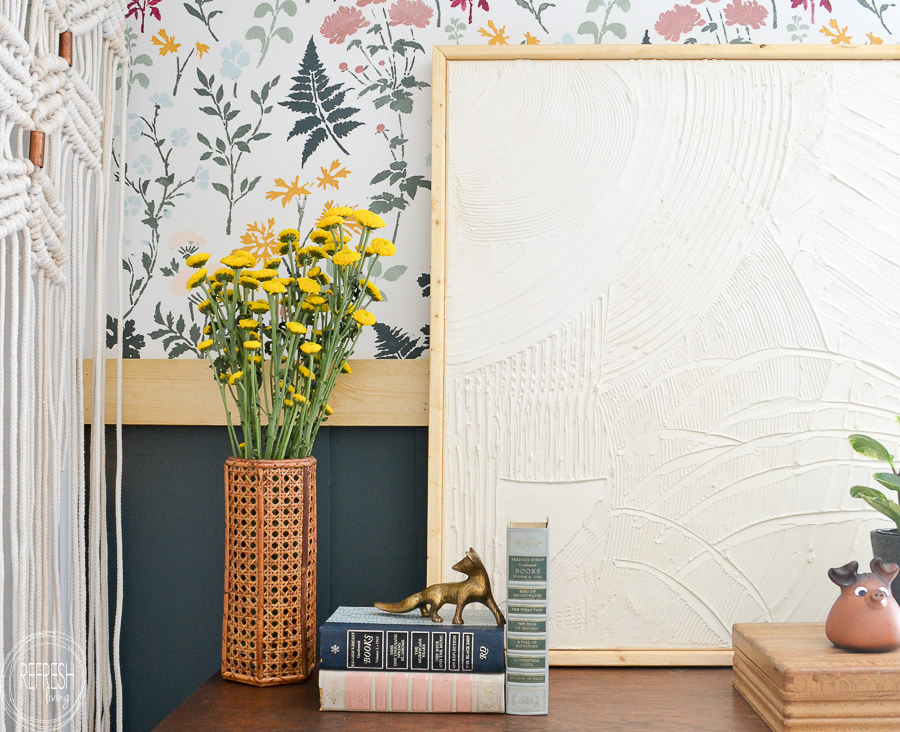
Step 4: Dry and Seal Allow 24-48 hours to dry completely (longer in humid climates). Once hard, sand lightly for smoothness if desired. Seal with clear matte spray or paint over with acrylics in neutral tones—beiges, grays, or soft whites for a wabi-sabi effect. Add metallic gold accents for a high-end touch.
Step 5: Optional Floating Frame Build or buy a simple wood frame to elevate the piece. It gives a gallery-ready finish and protects edges.
This project takes 2-3 hours active time and costs under $30. Variations include mixing in fabric scraps for 3D fabric wall art or using plaster for finer cracks and organic fissures.
Advanced Techniques and Variations
Once comfortable, level up:
- Plaster and Marble Powder Mix: Combine for a stone-like finish. Ideal for neutral minimalist pieces.
- Layered Color: Apply base texture in white, then dry-brush ombré acrylics or metallic paints for depth.
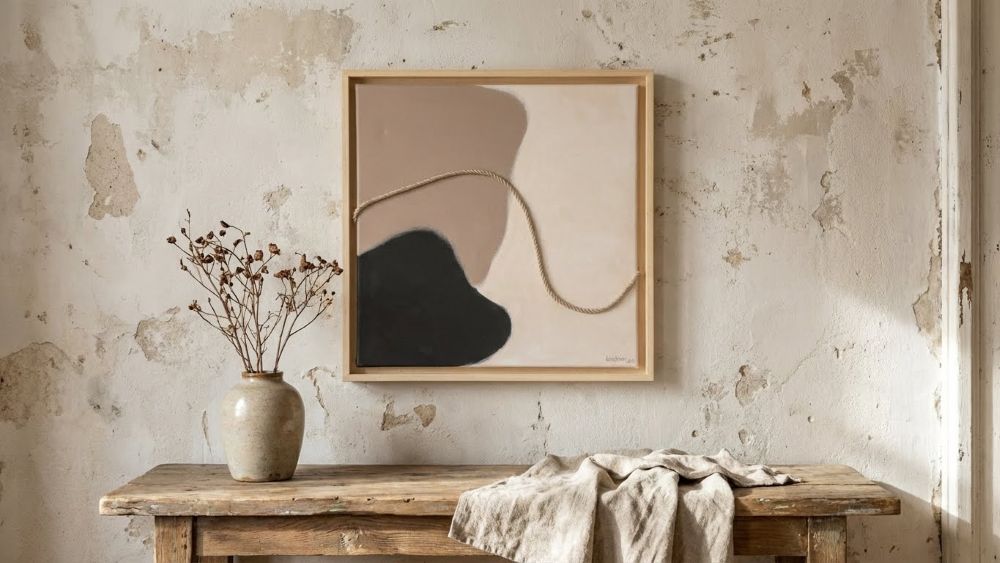
- Mixed Media: Embed rope, dried botanicals, or gold leaf for boho or Japandi styles, like the rope-accented neutral abstracts trending now.
- Multi-Panel Sets: Create diptychs or triptychs with coordinating textures for larger walls.
Safety note: Work in a ventilated area and wear gloves—joint compound is non-toxic but messy.
Styling and Placement Tips for Textured Wall Art
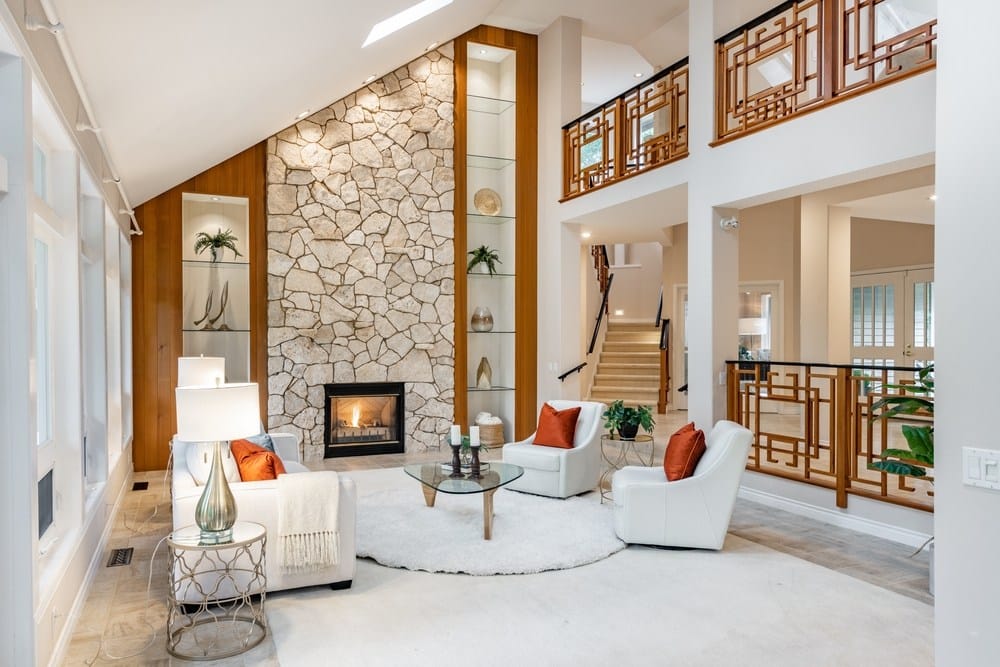
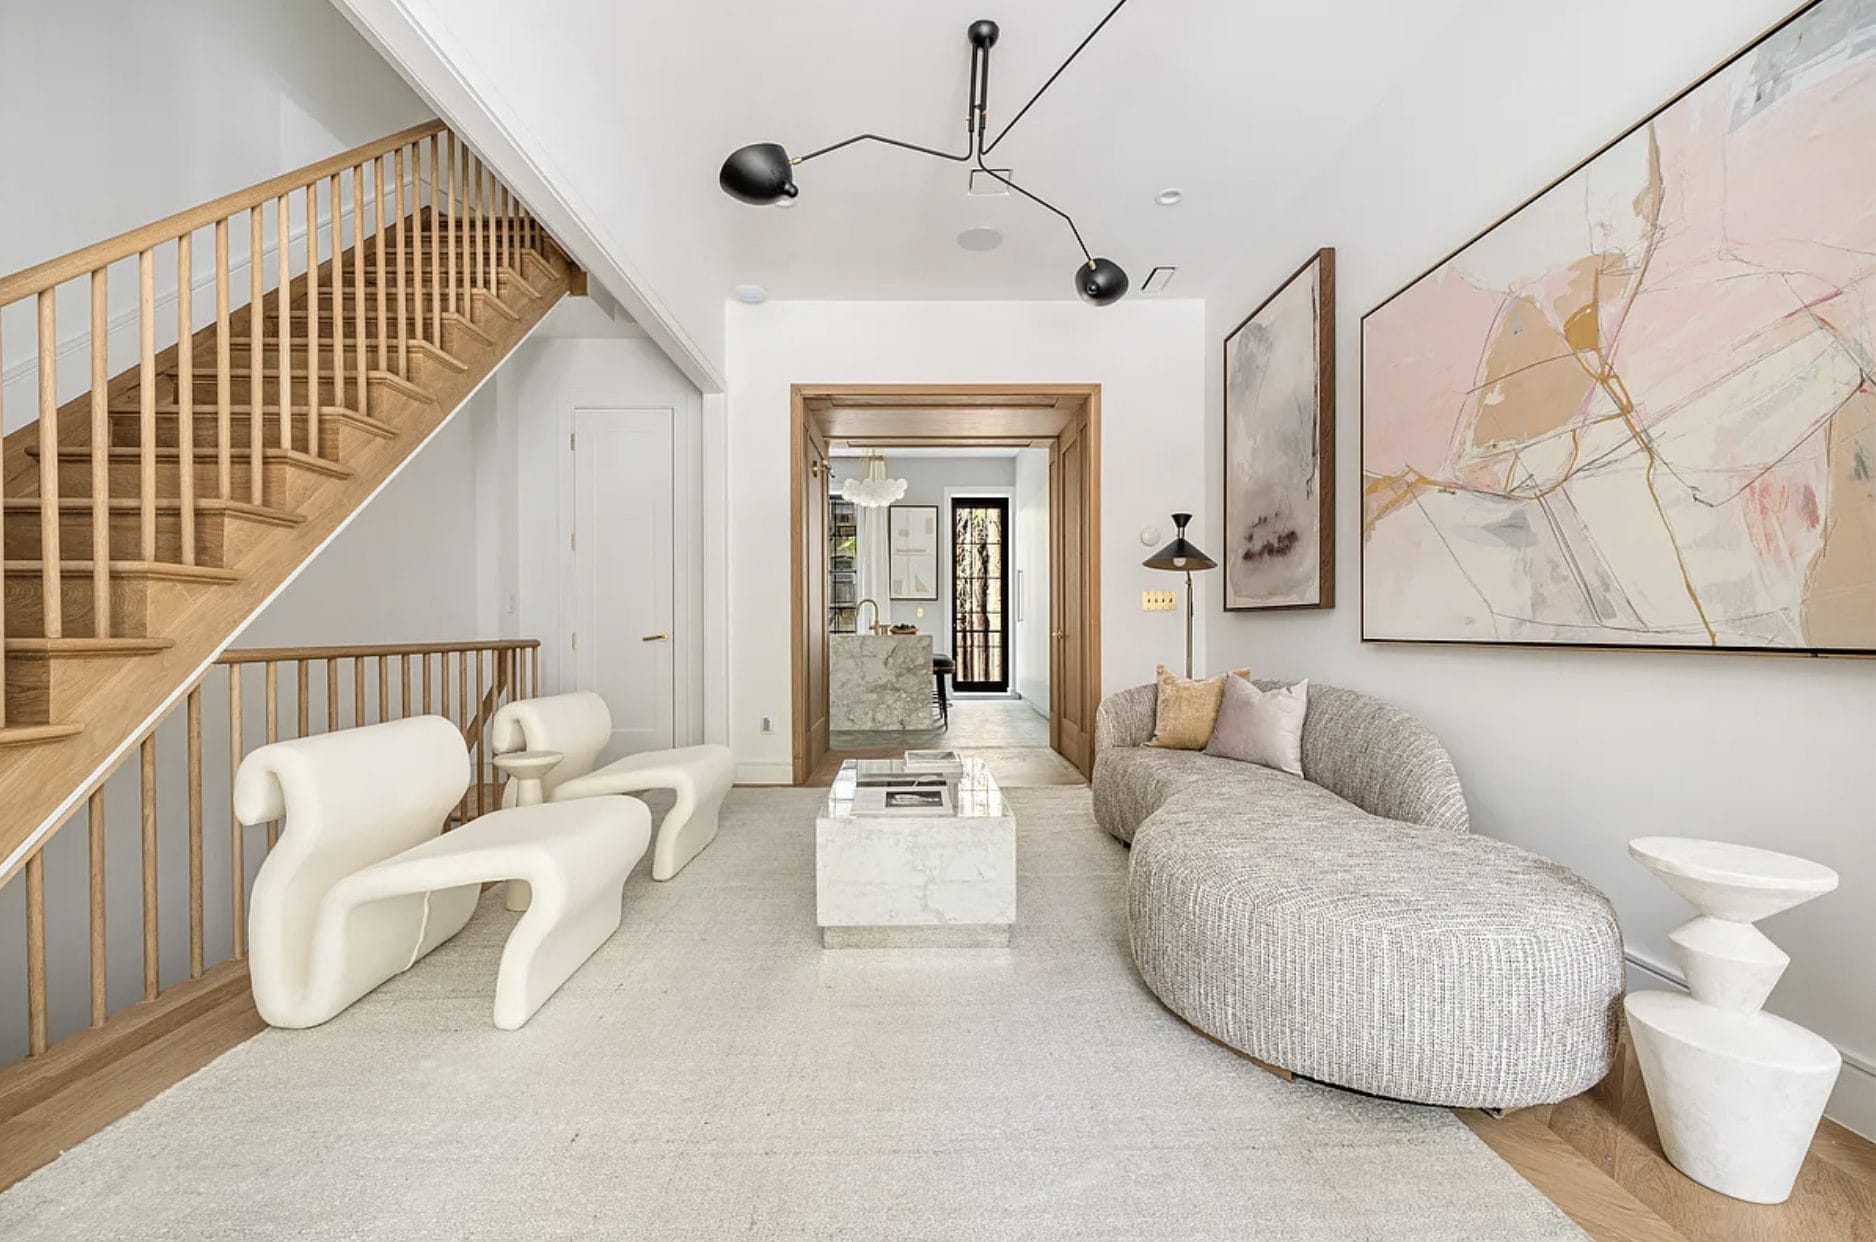
Hang above sofas, beds, or consoles for maximum impact. In living rooms, pair with textured furniture like boucle sofas for cohesion. Bedrooms benefit from soft neutrals to promote calm. Scale matters: oversized pieces (36+ inches) make bold statements; smaller ones work in galleries or shelves.
Lighting is key—spotlights or natural window light highlight the 3D elements. For rentals, use command strips or lean against walls for no-commitment style.
Shopping Ready-Made Textured Wall Art
Not in the mood to DIY? The Textured Wall Art collection offers hand-painted abstracts with raised sculptural details in vibrant yet sophisticated palettes. Pieces like the "Oversized Abstract Wall Art Teal, Green, and Beige" or "Unique Abstract Art White Textured" ship worldwide and include custom sizing options—ideal for designers or busy homeowners seeking professional quality.
Final Thoughts: Elevate Your Walls Today
Textured wall art bridges affordability and artistry, whether you craft it yourself or invest in premium canvases. It turns ordinary spaces into personalized sanctuaries, proving that a little texture goes a long way. Grab your supplies, experiment fearlessly, and watch your walls come alive. For more home decor inspiration, explore abstract wall art trends or canvas art techniques that complement your new creations.
FAQ: Textured Wall Art Questions Answered
Q1: What's the best material for beginners—joint compound, plaster, or spackle? Joint compound is ideal for starters: it's cheap, easy to spread, and forgiving. Plaster offers more durability for finer details, while spackle works for smaller projects but dries faster.
Q2: How long does textured wall art take to dry, and can I speed it up? Typically 24-48 hours. Avoid heat sources to prevent cracking; fans help in dry climates. Test dryness by touch—no tackiness means it's ready.
Q3: Do I need to seal my DIY textured canvas art? Yes! Sealing protects against dust, moisture, and yellowing. Use clear matte sealant for a natural look or paint for added color.
Q4: Can textured wall art work in humid bathrooms or kitchens? Absolutely, but choose moisture-resistant sealants and avoid direct water exposure. Opt for sealed plaster or acrylic-based textures.
Q5: How do I clean textured wall art without damaging the surface? Dust gently with a soft brush or microfiber cloth. For deeper cleaning, use a slightly damp cloth—never soak or use harsh chemicals.
Q6: What's the difference between buying ready-made vs. DIY? DIY saves money and allows customization, while ready-made Textured Wall Art delivers pro-level finishes and consistency for larger or time-sensitive needs.